Getting Started with Wheel Throwing: A Beginner's Guide
Wheel throwing is often considered the most iconic pottery technique, combining technical skill with artistic expression. While it may look intimidating at first, with the right guidance and practice, you'll be creating beautiful vessels in no time.
At Studio Artemis, we've taught hundreds of beginners how to throw on the wheel. This guide distills our approach to helping new potters develop their skills and confidence at the wheel.
Before You Begin: What You'll Need
Before sitting down at the wheel, gathering the right tools and materials will set you up for success:
- Clay: For beginners, we recommend a forgiving mid-fire stoneware clay that has good plasticity.
- Basic tools: Wooden rib, metal rib, needle tool, wire clay cutter, sponge, and wooden modeling tools.
- Water container: Keep it within reach to maintain proper clay consistency.
- Apron: Wheel throwing is a messy process—protect your clothes!
- Patience: Perhaps the most important tool of all.
"Learning wheel throwing is like learning to ride a bicycle—once the muscle memory develops, it stays with you forever." — Emma Parker
The Step-by-Step Process
1. Preparing Your Clay
Proper clay preparation is crucial for successful throwing. Begin by wedging your clay—a kneading process that removes air bubbles and creates a consistent texture. For beginners, start with a ball of clay weighing about 1-2 pounds (around 500-900g).
Pro Tip: Clay Consistency
Your clay should feel like firm putty—soft enough to be malleable but firm enough to hold its shape. If it's too soft, it will collapse during throwing; if it's too hard, it will be difficult to center.
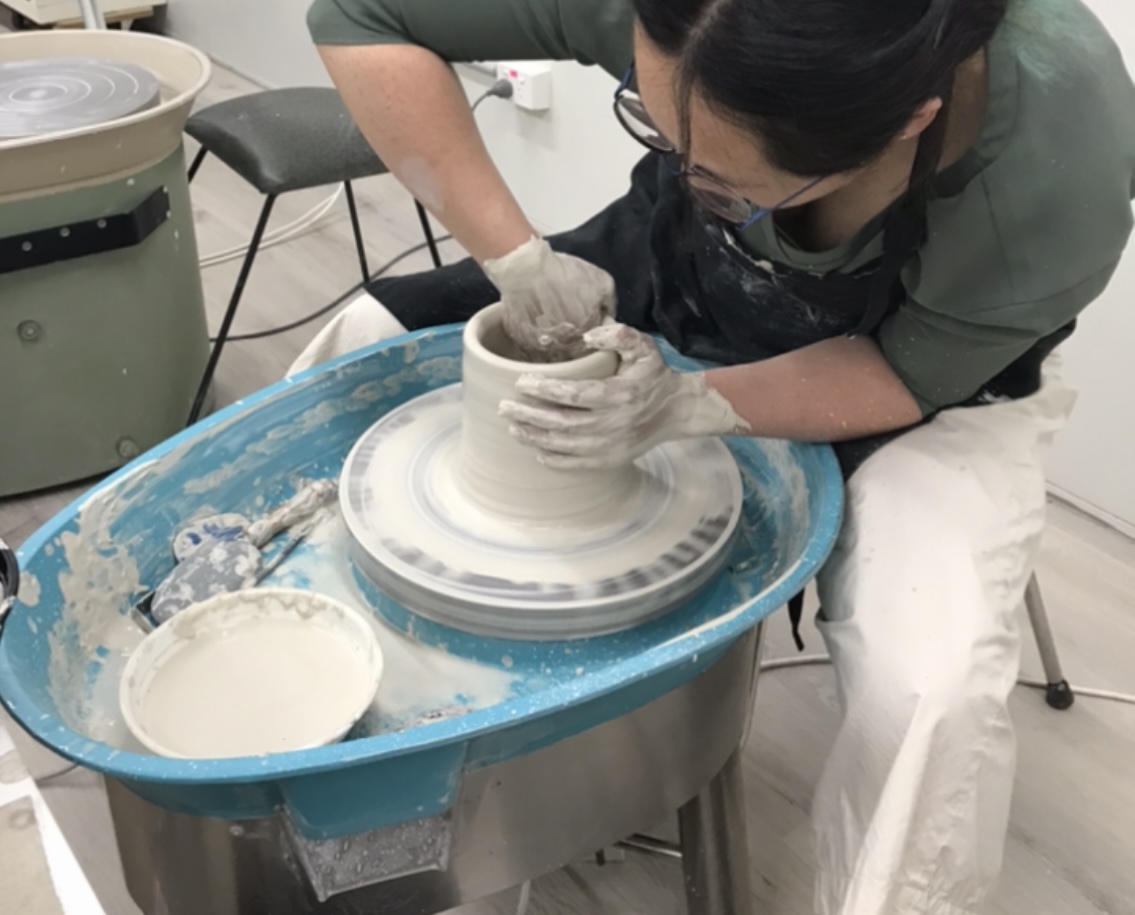
2. Centering the Clay
Centering is the foundational skill of wheel throwing and often the most challenging for beginners. Position your clay in the middle of the wheel head, wet your hands, and follow these steps:
- With the wheel turning at moderate speed, brace your elbows against your thighs for stability.
- Cup the clay with both hands, applying even pressure from both sides.
- Gradually push the clay into a cone shape, then press it back down.
- Repeat until the clay spins without wobbling.
3. Opening the Clay
Once centered, it's time to create the initial hollow that will become the inside of your vessel:
- With wet hands, press your thumb or index finger straight down into the center of the clay, stopping about 1/2 inch from the bottom.
- Slowly pull outward to widen the opening, maintaining even thickness in the base.
4. Pulling the Walls
This technique forms the walls of your vessel and determines its final shape:
- With wet hands, place your inside fingers against the bottom interior and your outside hand against the exterior.
- Apply gentle, even pressure and slowly pull upward.
- Repeat this process several times, gradually thinning and raising the walls.
5. Shaping Your Vessel
Once you've pulled the walls to your desired height:
- Use gentle pressure from both hands to create your desired form—inward pressure for narrower shapes, outward for wider forms.
- Smooth the rim with a damp sponge or your fingertips.
- Use ribs to refine the curve and remove excess water.
6. Removing Your Piece
When you're satisfied with your creation:
- Use a wire tool to carefully cut through the base of your piece.
- Allow the wheel to stop completely before attempting to remove your work.
- Gently lift your piece using a rib tool or your hands and transfer it to a ware board to dry.
Common Challenges for Beginners
Clay Collapsing
If your walls keep collapsing, you might be applying uneven pressure or your clay might be too soft. Try using firmer clay and focus on maintaining even pressure with both hands.
Off-Center Throwing
If your piece is wobbling or feels off-center, it's best to collapse the clay back down and re-center rather than struggling with an off-center piece.
Uneven Wall Thickness
This often results from pulling too quickly or with uneven pressure. Slow down and concentrate on keeping your fingers aligned on both sides of the clay.
Your Journey Has Just Begun
Remember that wheel throwing is a skill that develops over time. Every potter, even the most accomplished, started exactly where you are now. Be patient with yourself, embrace the learning process, and celebrate small victories.
At Studio Artemis, we offer beginner wheel throwing classes that provide hands-on guidance from experienced instructors. Learning in a supportive community environment can accelerate your progress and make the journey more enjoyable.
Ready to take your skills further? Check out our related article on glazing techniques to learn how to bring color and finish to your thrown pieces.