The Art of Glazing: Bringing Your Pottery to Life
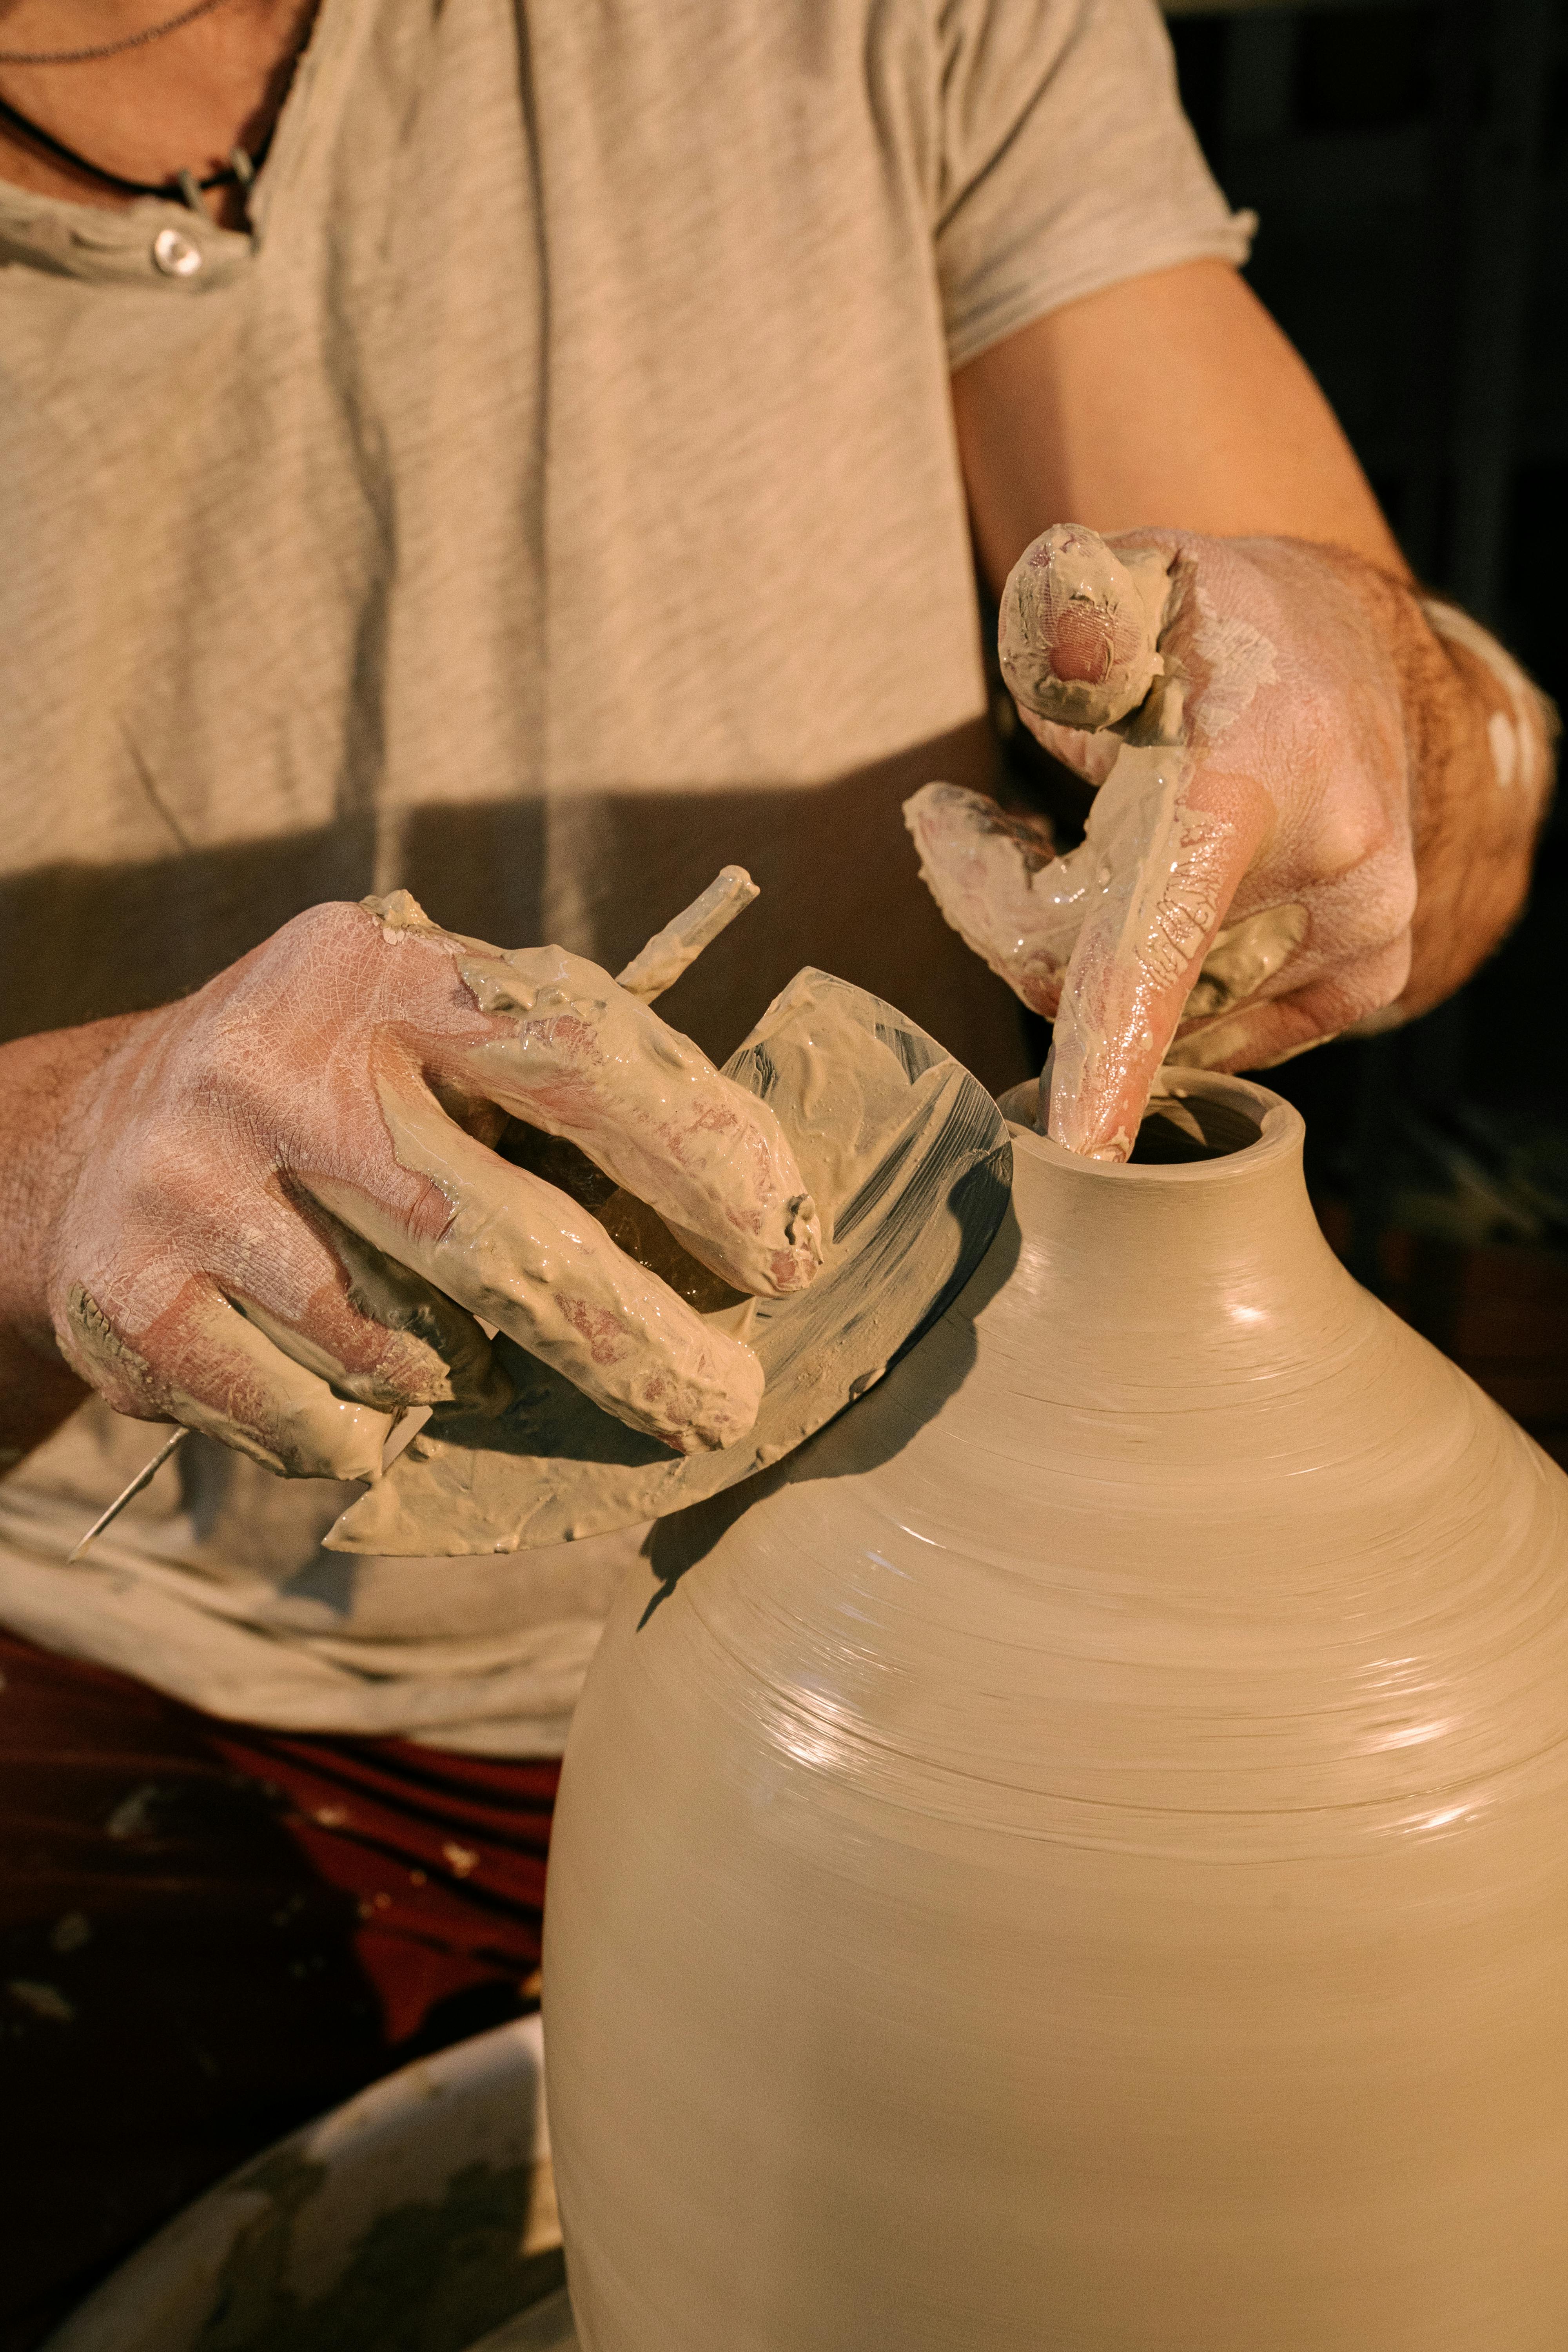
After mastering the fundamentals of forming clay on the wheel or through hand-building techniques, the next transformative step in your pottery journey is glazing. At Studio Artemis, we consider glazing to be where science meets art—a process that can elevate a simple clay form into a stunning, functional work of art.
For many ceramic artists, glazing is both exciting and daunting. The unpredictable nature of how glazes interact with clay bodies and transform during firing adds an element of surprise that can be both thrilling and occasionally frustrating. This guide will help demystify the glazing process and introduce you to techniques that will help you achieve the results you envision.
What Is Glaze?
At its core, a glaze is a glass-like coating that becomes permanently fused to the ceramic surface during firing. Glazes serve multiple purposes:
- They seal the porous clay body, making it waterproof
- They add decorative elements through color, texture, and finish
- They can enhance the durability of the piece
- They make surfaces food-safe and easier to clean (for functional pottery)
Glazes are composed of three main components: silica (glass former), alumina (provides durability and prevents the glaze from running), and flux (lowers the melting temperature). Additional materials like colorants, opacifiers, and modifiers create the vast range of effects potters cherish.
Types of Glazes
Matte Glazes
Non-reflective surface with a soft, velvety appearance
Glossy Glazes
Shiny, reflective surface that highlights form
Satin Glazes
Semi-matte finish with subtle sheen
Crystalline Glazes
Forms visible crystal patterns during cooling
Celadon Glazes
Translucent with subtle blue-green to gray-green tones
Reduction Glazes
Requires oxygen-reduced kiln atmosphere to develop colors
Preparing Your Bisque-Fired Pieces
Before applying glaze, your pottery must be bisque fired—heated to around 1000°C (1832°F) to remove physical water and chemically bonded water from the clay. This first firing makes the clay stronger but still porous enough to absorb glaze.
Proper preparation of your bisque pieces ensures better glaze adhesion:
- Clean your pieces with a slightly damp sponge to remove dust
- If glazing functional pieces, consider where glaze should not go (like the bottom of vessels that sit directly on surfaces)
- Apply wax resist to areas where you don't want glaze to adhere
Glazing Techniques
Each application method creates different effects and has specific advantages. At Studio Artemis, we encourage students to experiment with multiple approaches.
Dipping
Dipping is one of the most common methods for applying glaze, particularly for functional pieces where even coverage is desired. It involves completely immersing the piece in a bucket of glaze and withdrawing it at a controlled rate.
Pro tip: Hold your piece by the least visible area, and develop a consistent dipping rhythm to ensure even thickness throughout.
Pouring
Pouring works well for glazing the inside of vessels or when applying glaze to specific areas. You'll pour the glaze into or over the piece, then pour out the excess.
Pro tip: Pour from multiple directions to avoid creating thick sections where glaze can pool.
Brushing
Applying glaze with a brush allows for detailed decoration and patterns. While time-consuming, brushing permits creative control and the ability to apply multiple glazes in specific areas.
Pro tip: Use soft brushes and apply 3-4 thin coats rather than one thick coat to avoid brush marks and uneven application.
Spraying
Spraying creates smooth, even coatings and can produce beautiful gradients or blended effects. It requires specialized equipment (a spray booth and compressor) and respiratory protection.
Pro tip: Maintain a consistent distance and movement when spraying to achieve even coverage.
Best For Beginners
If you're new to glazing, we recommend starting with dipping or brushing techniques. These methods require minimal equipment and provide good control over application.
Advanced Techniques
As you gain confidence, experiment with layering different glazes and application methods to create unique effects and textures that showcase your artistic voice.
Layering and Combining Glazes
Some of the most stunning glaze effects come from thoughtful combinations of multiple glazes. Here are approaches to experiment with:
Overlapping Glazes
When one glaze overlaps another, chemical interactions can create dramatic breaks, blending, or entirely new colors at the intersection. Always test combinations before applying to final pieces, as some glazes don't play well together.
Resist Techniques
Using wax resist between glaze layers creates distinct boundaries between colors. Apply your first glaze, then use wax resist to create patterns or designs, and apply a second glaze that will only adhere to unwaxed areas.
"The most beautiful glazed pieces often emerge from a willingness to take risks and experiment with combinations. Document your process meticulously so you can reproduce successful results."
Common Glazing Challenges
Even experienced potters face challenges with glazing. Here are some common issues and how to address them:
Crawling
When glaze pulls away from itself during firing, leaving bare spots. This often happens when glaze is applied too thickly or onto a dusty surface.
Solution: Clean bisque thoroughly, apply thinner coats, and ensure proper glaze consistency.
Pinholes
Small holes in the fired glaze surface caused by gases escaping during firing.
Solution: Slow down the bisque firing to ensure all gases escape before glazing, and apply glaze in thin, even layers.
Running/Dripping
Glaze that moves excessively during firing and may even stick to the kiln shelf.
Solution: Apply thinner coats near the bottom of pieces, leave a wider unglazed foot, and test glazes to understand their flow characteristics.
Beyond Basic Glazing: Decorative Techniques
Once you're comfortable with basic glazing, explore these decorative approaches:
- Sgraffito: Scratching through a layer of colored slip or glaze to reveal the clay or another color underneath
- Mishima: Incising designs into leather-hard clay, then filling with colored slip
- Majolica: Painting colorants onto an unfired white opaque glaze surface
- Glaze trailing: Applying glaze in lines using a bottle with a small opening, similar to decorating with icing
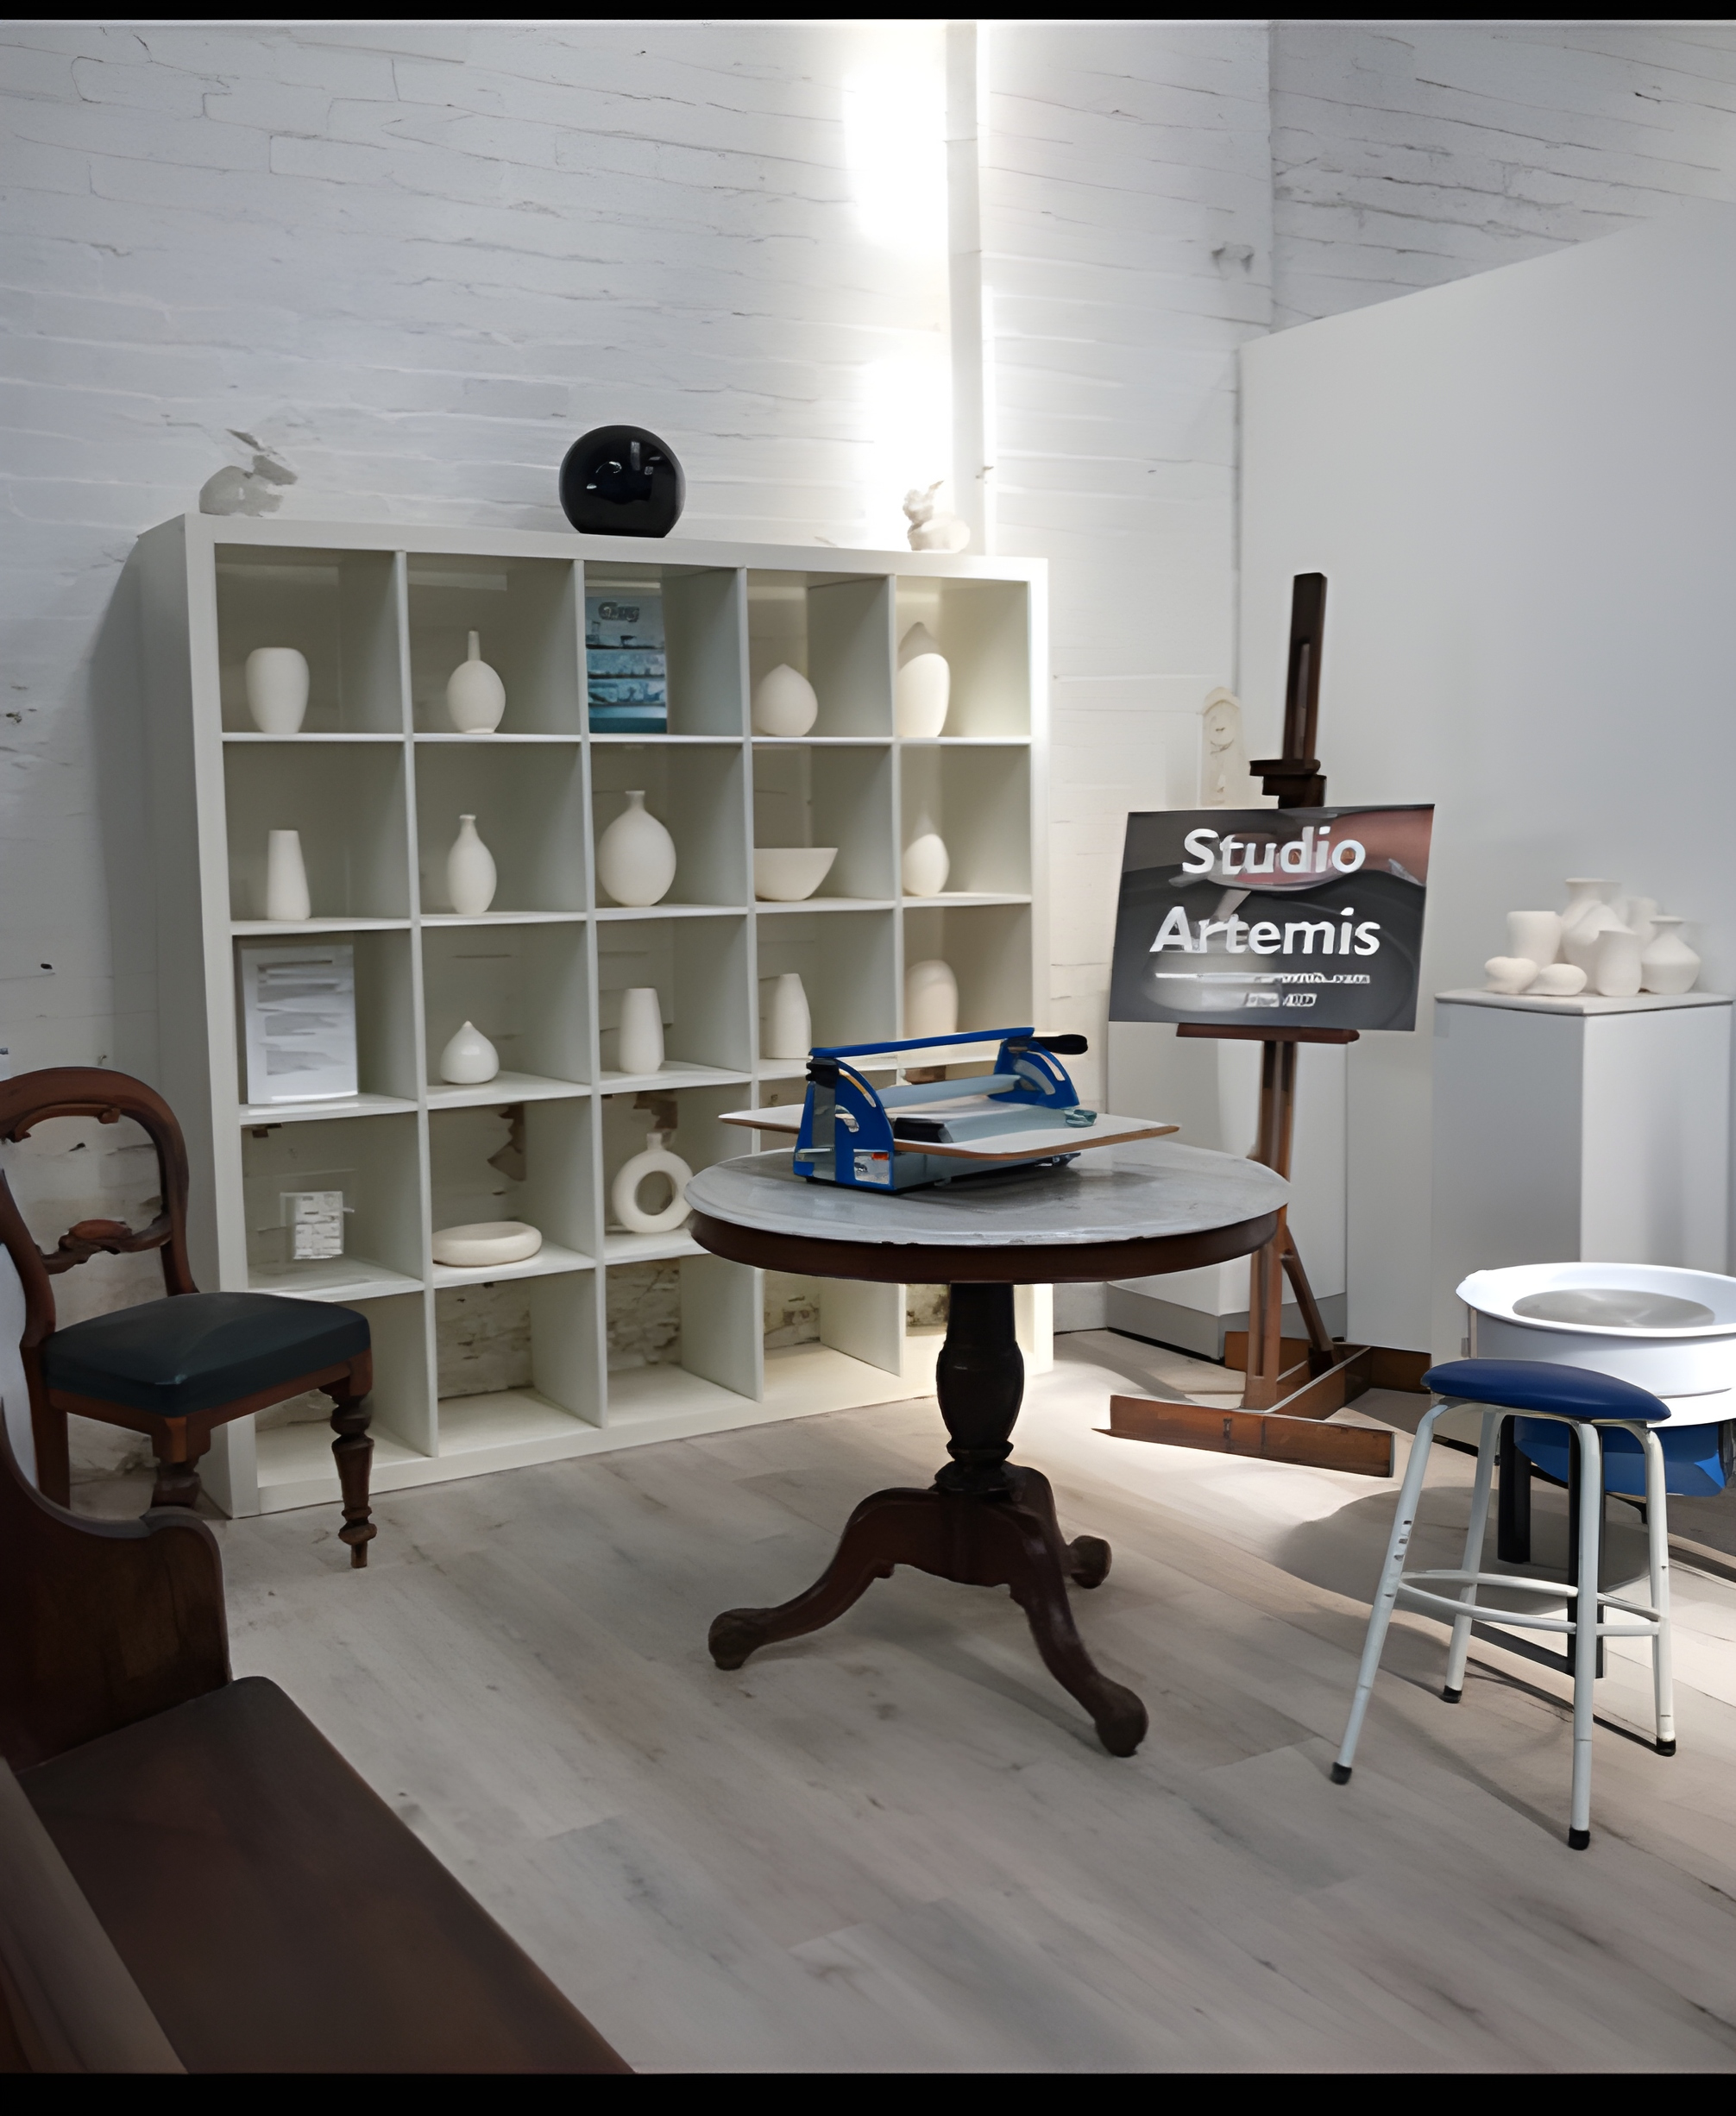
Develop Your Glazing Style at Studio Artemis
Glazing is where your personal aesthetic truly emerges in your ceramic work. In our supportive studio environment, we encourage exploration and provide the guidance needed to help you find your unique voice through glazing.
After completing one of our Wheel Throwing Classes or Hand Building Workshops, many of our students find that our specialized glazing sessions help them complete their pottery journey.
Explore Glazing at Studio Artemis
Join our specialized glazing workshops where you'll learn to apply these techniques to your own creations. Perfect for those who have completed our pottery classes and want to add the finishing touches to their work.
Remember that mastering glazing, like any aspect of ceramics, takes time and practice. Be patient, keep detailed notes of your glaze combinations and firing conditions, and celebrate the happy accidents that often lead to your most beautiful work.